Not too long ago, my family history resources (photos, certificates, family trees, and countless pages of notes) could be found in at least three locations around my house. Most of them were thrown in a large, waterproof storage bin, unorganized and overwhelming. When I wanted to find a particular document, I had to go out to the garage, pull out the heavy bin, dig through all the papers, and hope for the best. What a daunting process!
It doesn't have to be that way.
Over the last year, I have organized my family history documents in a way that keeps all of my information in one, easy-to-access location, and takes me seconds to find something as opposed to eating up 15 to 20 minutes of precious time. I’m hoping that you find this system useful. Whether you’re just getting started or have been working on your family history for years, getting organized is a must. Not only will you be able to find things and make connections much more quickly, it will also be easier for future generations to interpret your work.
Materials I Recommend:
Three-ring binders
Page lifters and dividers
Sheet protectors
Card stock
Post-its
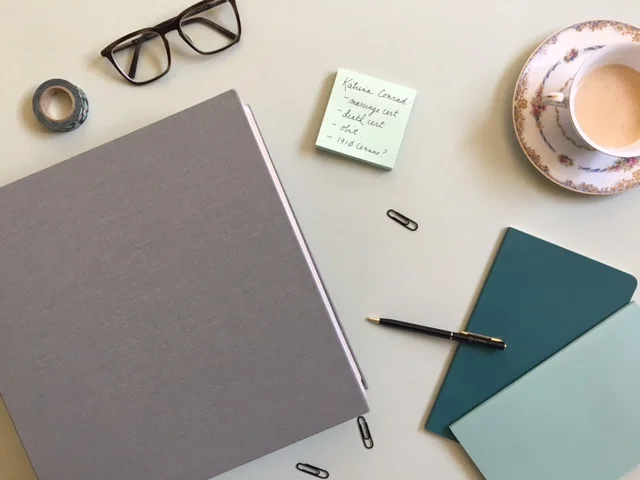
Because I have hundreds of pages of information, I divided my resources into two 2-inch binders, one for my paternal side and one from my maternal side. Within each binder, I separated my grandmother’s ancestry from my grandfather’s with a sturdy archival page lifter, which serves as a divider and a protector of the page. Within each section, I use post-its as tabs to different branches of the family, with surnames written in bold letters. This makes it easier for me to quickly locate a family group within the binder and find the person I am looking for.
Each ancestor gets his/her own profile page, where I document basic information about the individual and any notes I have about family stories or that relate to the documents I have. Interested in getting these profile pages for yourself? You can purchase them in my shop.
Behind each profile, I have included my research documentation checklist, where I can mark off the documents I have already collected for an individual, and identify the records I still need to search for or order. I recommend working your way back through each ancestor, trying to find as many records as possible.

Download my FREE checklist resource here.
After each profile page, I store the photographs, birth certificates, and any other resources I’ve collected on a particular individual. If I have a document that pertains to multiple individuals, I usually make a copy of the document and store it with each profile, but you can also simply leave a note to “refer to” another individual in the binder if you want to use less space. I place all profiles and documents inside sheet protectors to keep them safe from fingerprints and smudges, and I place a sheet of cardstock within each page to provide extra sturdiness and prevent creasing.
This system has significantly impacted the way I do my family history research. I have hard copies of everything that is stored on Ancestry and other online sites. I’m not wasting as much time looking for information. I am able to share my information easily with visitors or when I go to family events. I knew I was doing something right when I recently brought a binder to a DAR lineage workshop and had other women “oohing” and “aahing” at my organization system.
Do you have an organization system or is your research a hot mess? Let me know in comments!