
So you’re trying to prep your nursery (or are redoing your child’s room) and you want to add something personal and handmade, but you’re not quite sure what to do. If you’ve perused the Internet for some inspiration, you probably noticed that letter art is all the rage in nursery decor; it’s a fun way to celebrate your baby while playing with your theme and color scheme. You could turn to one of the many talented designers on Etsy to make your letter art dreams come true, or you could give it a whirl yourself, which is what we’re going to do in this tutorial.
When we found out we were pregnant with Baby #2, it didn’t take long for my mind to start racing with nursery ideas. We rent our home, so our decorating/renovating abilities are limited. While we can’t paint, install floors, or do anything “major,” there are so many simple ways to customize a space. I actually prefer plain white walls, but I like to add pops of color and personality with art and photographs. This letter art project is a great way to add style and individuality to a room. Read on to see how it’s done!
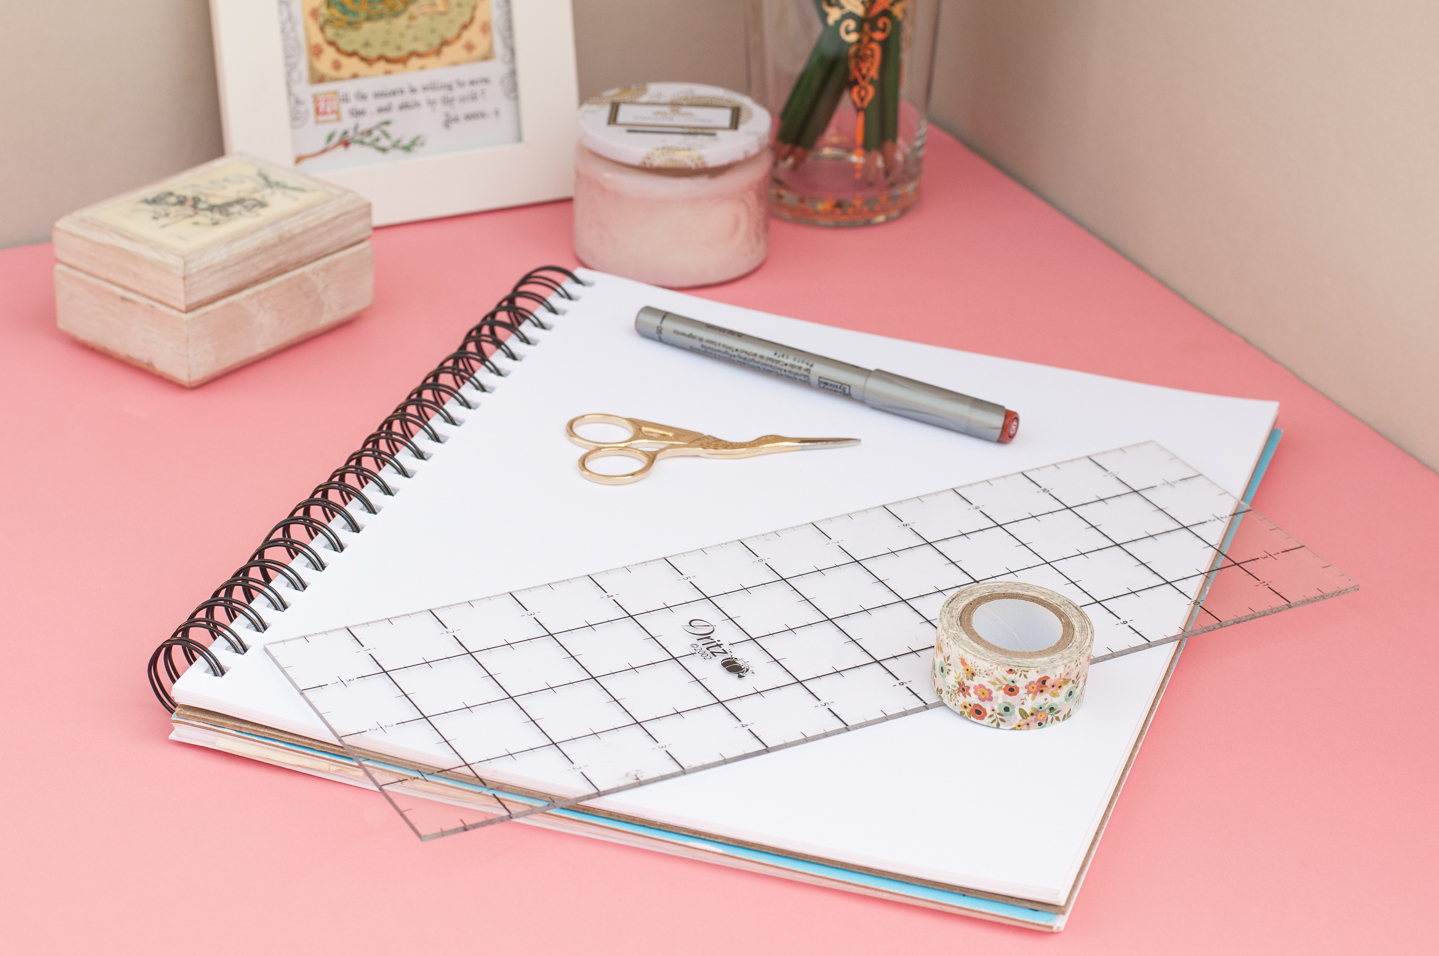
Materials
Photo frame
White or light-colored heavy-weight paper
Washi tape (masking tape or painter’s tape will work, too)
Scissors
Ruler
Pencil
Fine-tip pen or marker in the color your choice

Directions
First, head to Pinterest or Google Images to find some inspiration. Think about the theme of your child’s room. We didn’t find out the sex of our baby with our last two pregnancies, so we usually start with a relatively neutral theme. For this baby, we decided on a southwestern/desert theme of pale pink, green, and tan. For my letter art, I kept this theme in mind as I searched for images of cacti, deserts, and succulents.
Measure your frame (and your mat if you intend to use one) to determine what size your image will be. Using a ruler, measure the dimensions of your image on a piece of paper. Then, use washi tape to frame your canvas.
On a separate piece of paper, draw the letter you want to use in your artwork. For us, this was our baby’s first initial, the letter d. Make sure that your letter will fit into your canvas! Cut out the letter and, using small pieces of washi tape, secure it to your framed workspace.
Begin drawing! I like to start with the larger images I intend to include, and work my way to smaller details, finally filling the remaining white spaces with little lines, dots, and doodles. Draw right over the taped-down space, carefully lifting pieces of tape as you go around the edges of the letter.
When you have finished the main shapes you plan to include, gently peel off the taped-down letter. You should have a negative space image created in the area that was blocked off. Once you’ve pulled off the letter, go back over the artwork to color in empty spaces, fill in any gaps, and smooth edges.
After you get the artwork to your liking, carefully peel off the washi tape edge and cut the paper down to fit your frame. Insert the paper into your frame, hang or post in the desired location, and pat yourself on the back—you’ve got yourself a piece of badass, customized art!

That’s it! This is a super easy project that produces big results—something unique and handmade with a personal touch. We hope you enjoyed this tutorial. We’ll be doing a nursery reveal in the coming weeks, so you’ll get a chance to see just how this piece complements Dahlia’s room.

What DIY projects have you incorporated into your home decor? Are there any how-tos you’d like us to cover? Let us know in comments!